How Large Disk Space For Mac Time Machine
воскресенье 18 ноября admin 77
However, your Mac does tell you it keeps these backups — it says it keeps “Local snapshots as space permits” in the Time Machine window. The “as space permits” bit is the key here. When less than 20 percent of the space on your Mac’s startup disk is available — or if less than 5 GB of space is available — your Mac will start automatically purging the oldest Time Machine local snapshots to free up space. As time goes on, Time Machine finds and saves only new items that have changed. The longer the time, the less space the disk. Also, you can connect a larger disk to keep the existing backup history and copy the old data to the new disk. And you are suggested to use Finder, not Terminal.
Advertisement Backing up the data on your computer is crucial. If you’re using a Mac, you’ll be glad to know there’s a built-in backup tool called Time Machine that makes backing up your computer easy.
Today we’ll show you how to set up a drive for use with Time Machine, how to set up and use Time Machine, and how to restore from a Time Machine backup. Setting Up a Drive for Time Machine For Time Machine backups, you can use an external hard drive connected to a USB, FireWire,.
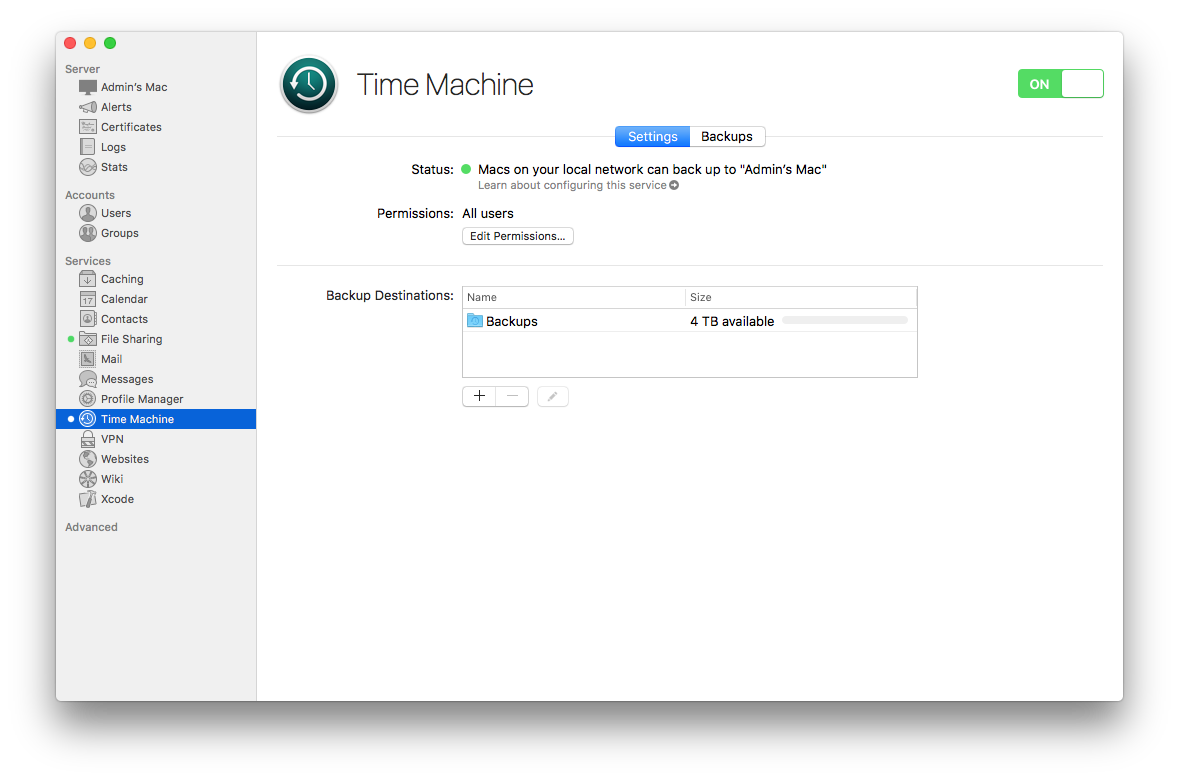
Backing up to a network drive also works. For this overview, we’re going to use an external hard drive. You can dedicate the entire external hard drive to your backups. Or you can If your Mac's hard drive is small and your Time Machine hard drive is big, it might be worth using the drive for both backup and storage purposes. So you use part of it for Time Machine backups, and the rest of the drive for file storage. Adding Time Machine to the Menu Bar For easy access to Time Machine,. Go to Apple Menu > System Preferences > Time Machine.
Then check the Show Time Machine in menu bar box. Backing Up Your Mac Using Time Machine Once you’ve set up your drive, or when you connect a drive you’ve already set up, you might see a prompt asking if you want to use the connected disk to back up with Time Machine.
If you partitioned the disk, select the partition you want to use from the dropdown list. If your backup will contain sensitive data, you should. To do this, check the Encrypt Backup Disk box. Encrypting the initial backup can take quite a long time.
Unfortunately, it's just too buggy for serious use, and given that it averages less than 2 releases a year, I have little hope that that will change. (microsoft terminal services client, mstsc for mac. Microsoft's official client is very bare bones and doesn't support connecting on non-standard ports (which I need). Edit: Apparently the Microsoft doc I read that states that the Microsoft RDC client can't be used on non-standard ports is out of date. Is there a remote desktop client for Mac out there that's both fully featured and not buggy?
It could be hours or maybe a few days, depending on how many files you have. Click Use as Backup Disk. The Time Machine Preferences dialog box opens and the backup process automatically starts. If Time Machine doesn’t ask you to choose a backup disk when you connect the drive to your Mac, select Open Time Machine Preferences from the Time Machine menu on the menu bar. Or go to Apple Menu > System Preferences > Time Machine. Click Select Backup Disk.
Time Machine lists all available connected disks that have enough free space. Click the disk you want to use. You can choose to encrypt your backup here, if you didn’t see the dialog box mentioned above. Check the Encrypt backups box. Then click Use Disk. Backing Up to Multiple Disks and Encrypting Time Machine allows you to back up data to multiple disks.
For example, if you keep one backup disk at home and another at work, you can add both to Time Machine. Simply click Select Backup Disk again in the Time Machine Preferences and select another disk. Time Machine rotates the backup schedule among your disks and keeps track of the status of the backup on each separate disk.