Mac Os For Virtualbox Windows Iso
четверг 22 ноября admin 36
Microsoft word for mac 1 sided printing. * Go to the Print tab and check-mark the 'Reverse Print Order' option and click 'OK'. * Once you have opened Word, go to Tools and click on Options. * Go to the Start menu and open Microsoft Word.
If you’re a Mac user, there’s no need to sell your Mac and get a Windows computer. You can use VirtualBox, or (links lead to academic versions) to run Windows on your Mac. This tutorial was written for VirtualBox, since it’s free and you don’t have to reboot your computer to access Windows (this is why I don’t recommend, since you lose access to your Mac files and software). Before you do anything else, make sure your Mac is updated to the latest version of OS X your computer supports, and verify it has 8GB or more of RAM. You will need to purchase a Windows 10 Home (64-bit) license, which is (search for “Microsoft Windows 10 Home 64 Bit OEM”) or a. What you really need is the activation key, since DVD drives are very uncommon and you can directly from Microsoft. If you accidentally purchase a DVD you would need to use an external DVD drive, which can be purchased, or borrowed from a classmate. 1) Download VirtualBox Save the DMG to a location on your computer where you will be able to find it (Downloads, Desktop, etc.).
If you are on a Mac, you need the version for “OS X hosts.” 2) Install VirtualBox VirtualBox must be installed before it can be used. When you mount the DMG, you must then run the VirtualBox installer, which will place VirtualBox into your Applications folder. 3) Create your Virtual Machine (VM) • When you run VirtualBox for the first time, there will be no virtual machines (VMs) installed. • Click New in the toolbar, which will launch the New Virtual Machine Wizard. • Give your VM a name such as “Windows 10”.
• Select “Windows” as the operating system, and “Windows 10 (64 bit)” as the version. • Go with the recommended memory (2048 MB, or 2 GB). • Leave the default “Create a virtual hard disk now” selected. • Choose “Create.” • Next you must configure the hard disk for your VM to use. The default settings should be fine (the drive is dynamic, so will only use the least amount of space on your host computer). Choose “Create.” • You will now be taken back to the Virtual Machine Manager, which will no longer be empty.
Sep 11, 2018 - ISO) of the operating system, which you'll then load into VirtualBox. With your virtual machine—be it Windows, Linux, or macOS (if you're. A quick and simple step-by-step guide to install macOS Sierra in VirtualBox on Windows 10. MacOS Sierra 10.12 on VirtualBox. Sims 4 mod conflict detector for mac. (+ Screenshots).
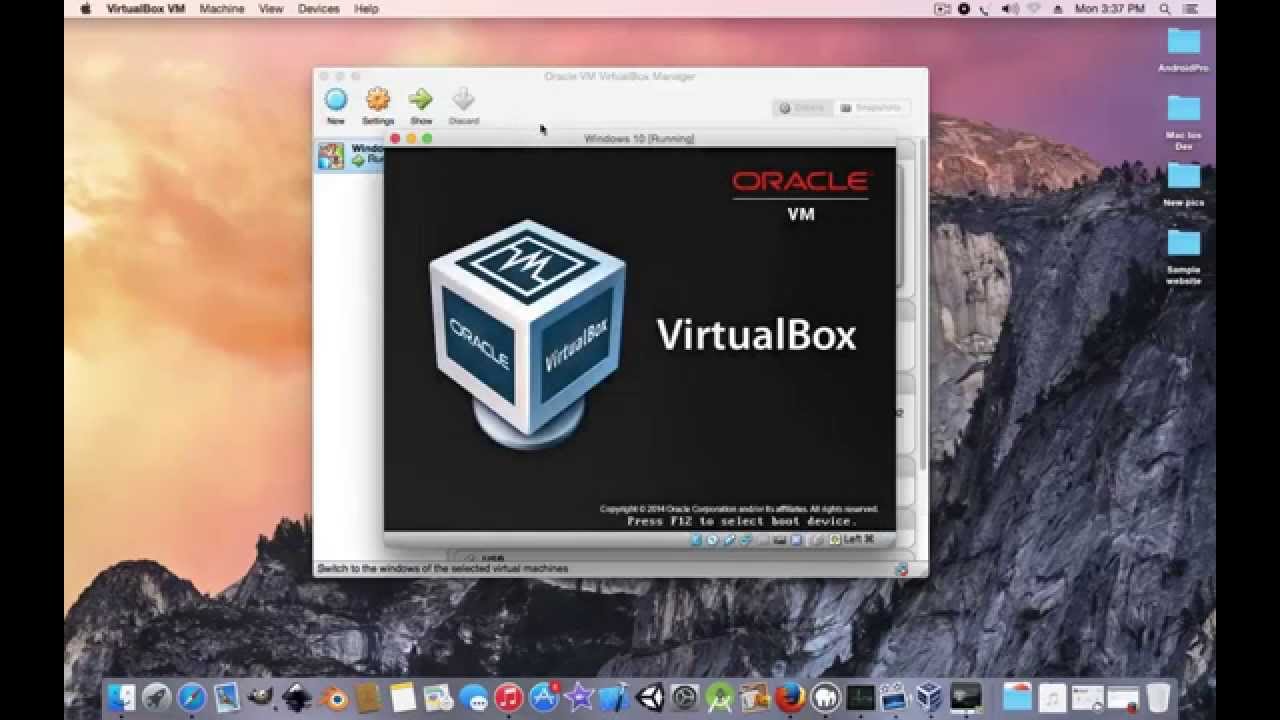
You should see the VM you created, and it should be “Powered Off”. Your VM is a computer within a computer, which means it must be started and shut down like a normal computer (it also means it can get viruses so be careful). 5) Install Windows • Click the green “Start” arrow. You will see a warning that “Auto capture keyboard” is turned on.
What is important to note on this screen is the host key, which is set to Left Command key. Use this key to “release” the mouse and keyboard from the VM to switch back to your Mac. You will need to do this if your mouse and keyboard appear to be “stuck” in the VM, meaning you can’t move the mouse out of the VM.
Normally after Windows installed, you can simply move your mouse out of the VM window and it will be back on your Mac side. • Since you haven’t yet installed Windows, you will be taken into the “First Run Wizard”, which will help you install Windows. Click “Continue” to get started.
• Make sure you know where the ISO Windows 10 installation ISO is located (or you are using the installation DVD). Select the installation media in the drop down list and select “Continue”. If your computer does not have a CD/DVD drive, you may install an OS from disk media by clicking the folder browser icon (to the right below). Navigate to an installation image – DMG, ISO, CDR, DMG and select “Open”. • If you have successfully selected your installation media, you will be presented with a Summary screen. Verify that the information is correct and select “Start”. • Your VM should start for the first time.
It will boot like a normal computer, but in a window on your Mac. You may get the Virtual Machine host key warning again, select “Do not show this message again” and then “Capture”. You must remember your host key, which defaults to the left Command key. • Now you are in the Windows installer. Follow the on-screen instructions, the default settings should be fine. One screen that is a little confusing is the “Upgrade” or “Custom” installation.